Or Drybrushing Zombies For Fun And Profit
I have something of a love/hate relationship with my zombies. On the one hand, the models are characterful, amusing and, given the fact that zombies have a Weapon Skill of 1, you have carte blanche to play about with them as much as you like. For example:
 |
| One armed zombies.* |
 |
| Back to front zombies.** |
 |
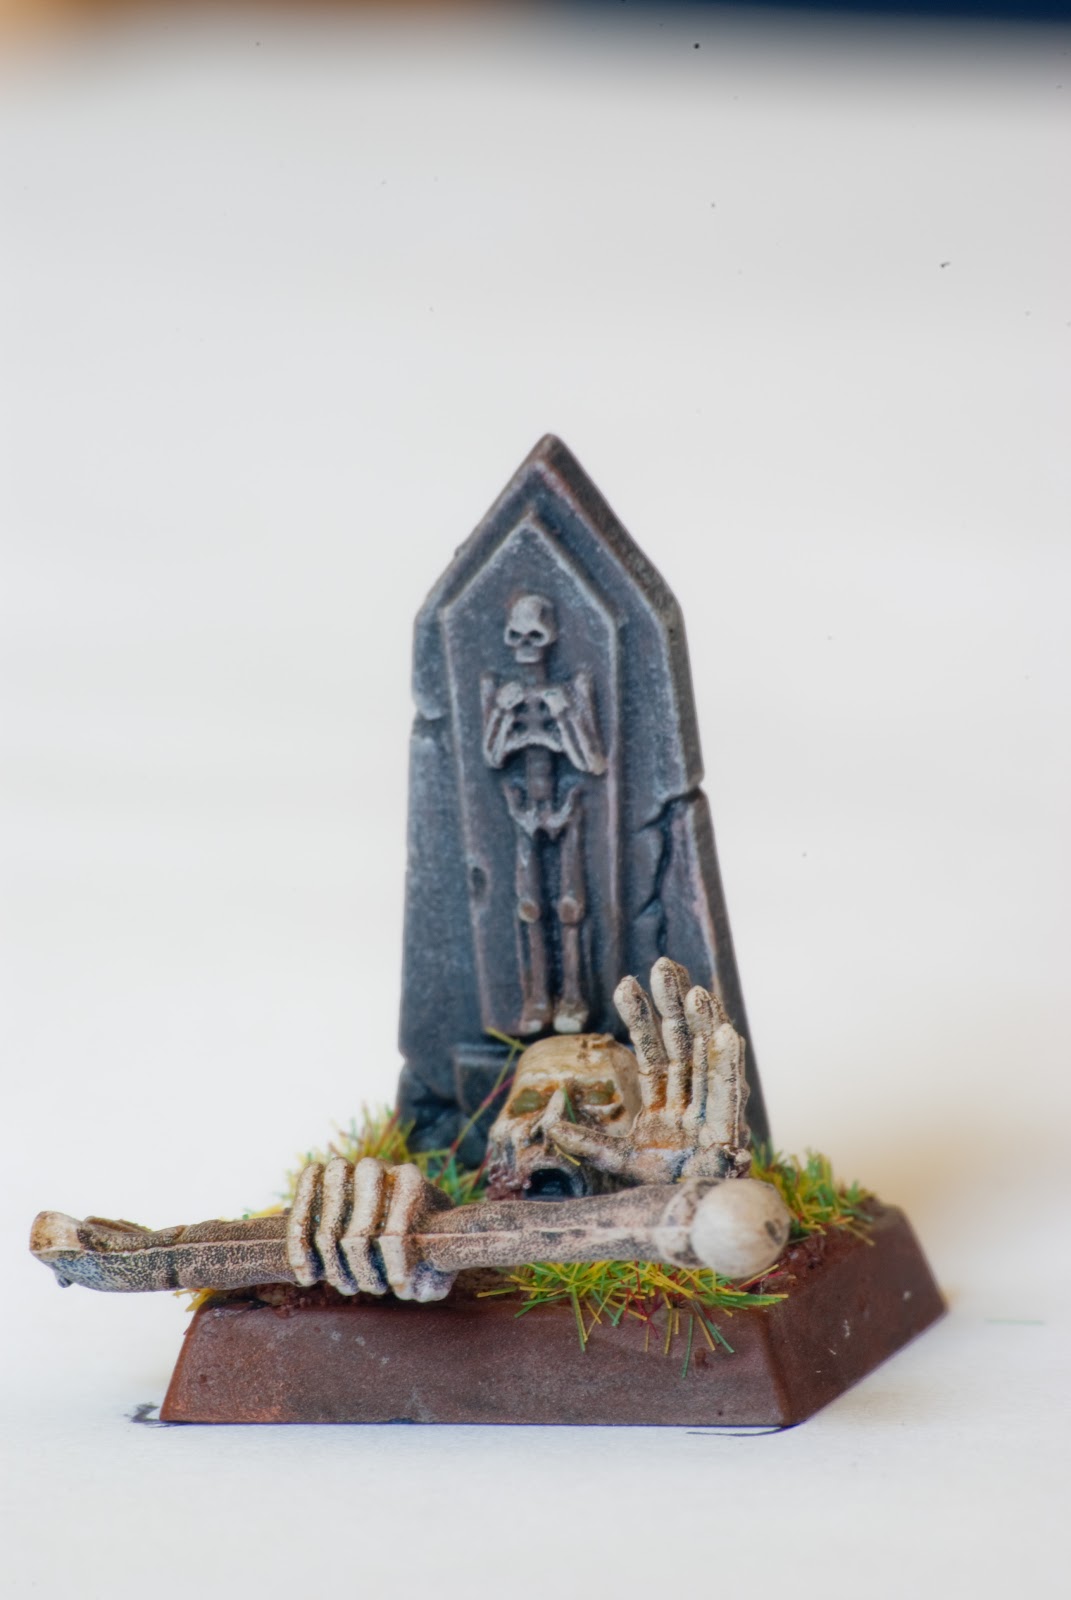
| Still coming out the ground zombies.*** |
|
|
*: This may not have been totally intentional. I dropped this guy after varnishing him and his arm pinged off and disappeared, never to be found. I quite like it, however.
**: This was intentional. You can't see it too well in the photo, sadly.
***: I am quite excessively pleased with this one.
But, the buggers are only worth 3 points each and, despite this, take just as long (or longer) than skellies to paint. Plus you need at least 20 zombies just to field a legal unit. Worse still, you'll realistically want 30-40 per unit. That's a lot of painting. As a consequence, I've developed a pretty brutal production line approach to zombies. It goes like this...
Undercoat and Base
 |
| Free Hugs! |
Chaos Black, skoosh, skoosh. Stirland Mud, splotch, splotch. Done. (Doing the base at this point might seem odd, but I'll be drybrushing it as I go along and this saves a tiny bit of time per zombie, and that's what this is all about.)
Permit me a brief digression on Stirland Mud for a moment. Stirland Mud is a "texture" paint. It's a pre-prepared mix of "sand" and paint. It's a lot quicker than the PVA glue -> sand -> paint approach, which is good, but it's also a lot less impressive. If I cared about my models looking good, I'd say go for the glue. I don't though, and texture paint saves at least 30 minutes drying time, so rock on Stirland Mud!
Khemri Brown
 |
| Grubby. |
I'll largely be drybrushing up through what I think of as the "undead" colours: Khemri Brown, Ushtabi Bone and Pallid Wytch Flesh. These form the core of pretty much all my undead painting. Here, the first step is a couple of drybrush coats of Khemri Brown (technically a "foundation" paint, whatever the hell that means) on everything. And I do mean everything. Base, weapons, clothes, flesh, hair, all of it. Biggest brush, plenty of paint, get going and don't stop until your zombie looks good and messy.
Ushtabi Bone
 |
| Looking a little skeletal. |
Next, a couple of Ushtabi Bone drybrushes on flesh and bone parts only, along with a drybrush of the base. The model looks a touch yellow at this point. Don't worry about it.
Bugman's Glow
 |
| Blotchy. |
NON-UNDEAD COLOUR ALERT! Gasp! A quick drybrush of Bugman's Glow goes on the flesh at this point. This looks terrible at this stage, but is needed to give just a hint of flesh tone later.
Pallid Wytch Flesh
 |
| Pale and Interesting |
Next up, back to the standard colours. One or two drybrushes of Pallid Wytch Flesh brings the zombie's flesh up to an unhealthy pallor. Depending on how pale you want the model to be, one or two coats might be needed. I tend to go with one, because I'm lazy. Bones and base also get a quick drybrush at this point too. (See why I started the base early now?)
Now, Andy Lawhammer has a
Nulner army on the go, who wear mostly black. I reckon at this stage I could give my zombies a quick wash with Drakenhoff Nightshade and pretend they were dirty, resurrected Nulners. In fact, I may well do that for the next twenty of the buggers, but since we can have them in more colourful clothes with just another couple of drybrushes, the first unit are going to be wearing leathers and red jerkins. (My army colours are red and green, in as much as I have army colours.)
Mournfang Brown and Mephiston Red
 |
| Now with actual colours. |
The joy of zombies is that they have been raised from the dead and thus have an excuse to look scruffy. A little Mournfang Brown and Mephiston Red drybrushed across the relevant bits of clothing and, bingo, instant dirty rags. Then it's a case of picking out minor details (eyes, metallic bits, that sort of stuff), of which this particular model has very little. Oh well. I painted his tongue though. Look, it's all pink and slobbery, like a foul, decaying puppy!
Agrax Earthshade and Flock
Now it's time for "talent in a pot" Agrax Earthshade ink wash. This step removes the worst of the dustiness and smooths out a few bits of wonky painting, as well as adding some depth to the dark recesses of the model. Then it's time for a tuft or two of flock, a skoosh of spray varnish and we're done.
And In The End...
 |
| 70 points of brain eating, foe crunching, shambling horde. |
Individually, each zombie looks kind of shoddy. There are a lot of bits that any reasonable painter might re-do, or do better, or simply even do. (I ignored a LOT of details on these models.) As a horde, however, they look just fine. Even more importantly, however, they're done. Time to move on to something more interesting!
Previous Points Painted: 265
20 zombies (inc standard bearer and musician): 70
New Points Painted Total: 335


They look good en masse mate! Having te clothes darker, and differently toned, really makes them look effective.
ReplyDeleteIndeed. En masse they look pretty awesome. Only another 60 or so to go.
ReplyDeleteFor the first unit.
;)
I think they look great. I especially love that "coming out of the ground zombie" is at the front. He looks awesome when he is in the unit. I'd quite like to see one with half his body out too...
ReplyDeleteOh, in fact...you could do one unit with the front rank completely out, the second rank half out, and the back rank only their heads out. Awesome!
ReplyDeleteI may well do something like that. As Andy Leask suggested last week, it would eek out more troops per box, as well as being amusing and cutting down on painting.
Delete